So you've put in your list of suppliers and associated each asset and or worker to that supplier - what's next? (If you haven't yet, don't fret! We've got you covered - click here for how you can add your suppliers or click here for how you can associate a supplier to the asset and/or worker).
So what's next? Adding in the rates you're going to pay your suppliers! To streamline the process, the steps of adding in these rates, mirrors that of clients and projects 👍
Below outlines the steps needed to get supplier rates set up:
-
As tasks are the first layer where rates need to live, make sure these have been set up. This is how you will add in the supplier specific pay rates. Click here to see how to set up pay rates on a task level
-
Click Suppliers Suppliers Supplier Name to view and/or update details for an existing supplier.
-
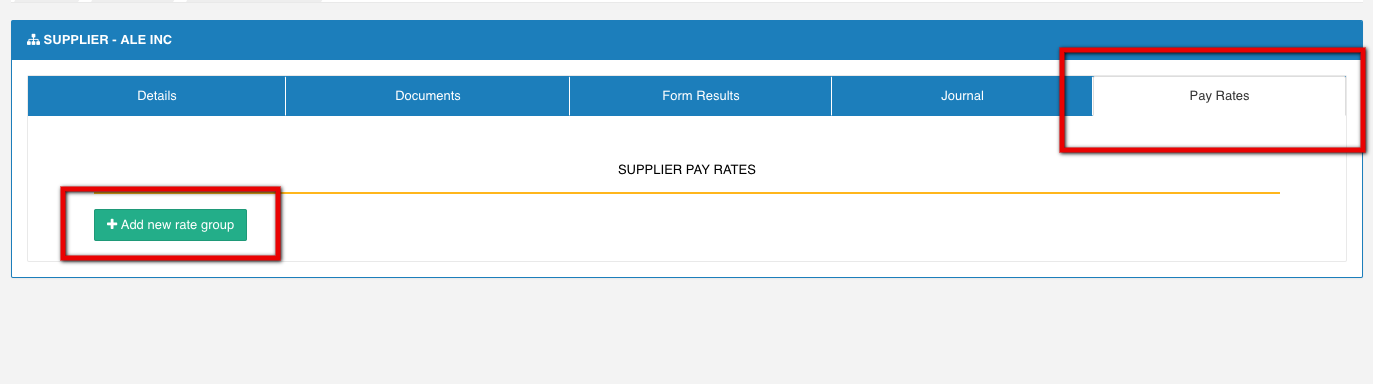
Click on the pay rates tab
-
To add a new supplier pay rate group, click the green +ADD NEW RATE GROUP button
-
In the pop out screen, select which task and task rate group you will be adding in supplier rates for. If your task is not showing, you'll need to go back to that task and add in rates on a task level. Once you've selected the applicable task and rates, click select
-
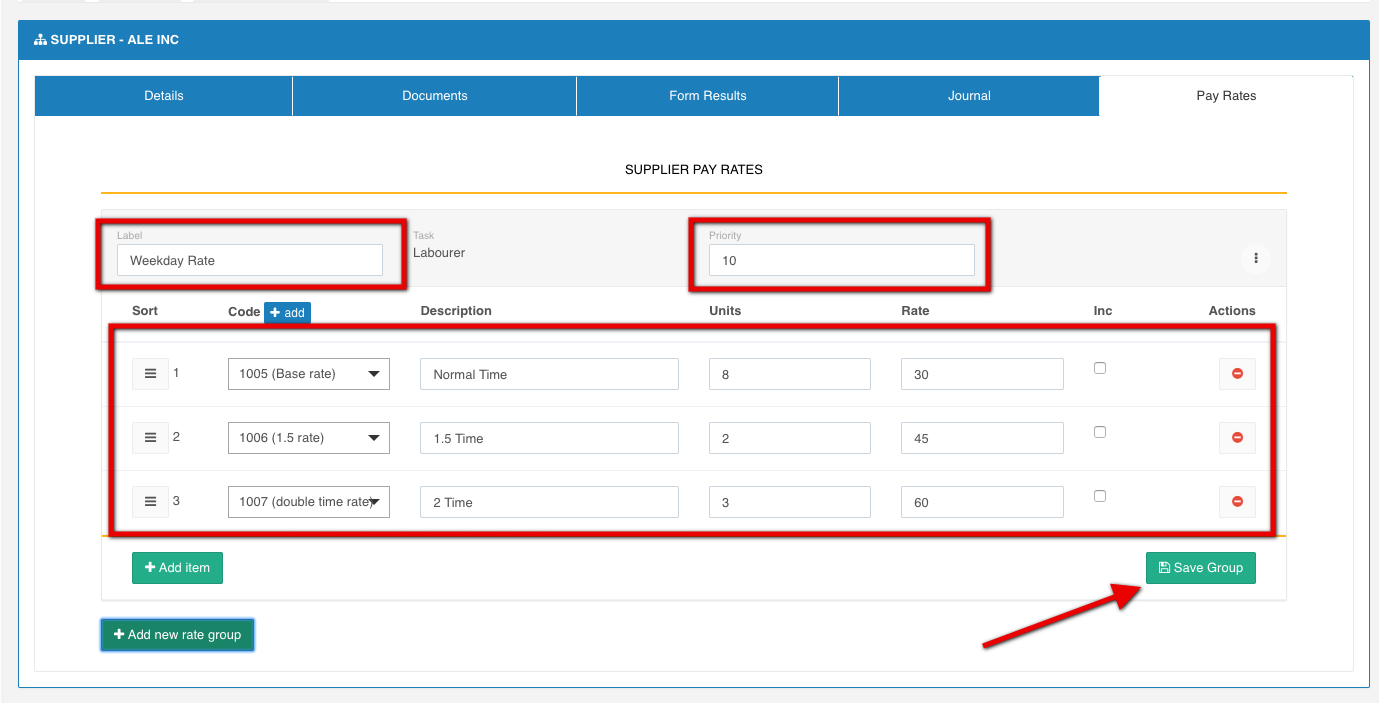
Once selected, you can then go in and edit the label, the priority, and any of the codes, units or rates to match the rates you will pay your supplier.
-
Click +ADD item to add in any extra lines (if applicable)
-
Remove any lines by clicking the red delete button in the actions column (if applicable)
-
Click save group once all applicable fields have been changed to suit your supplier
-
Repeat these steps for any other task rates needed for the supplier

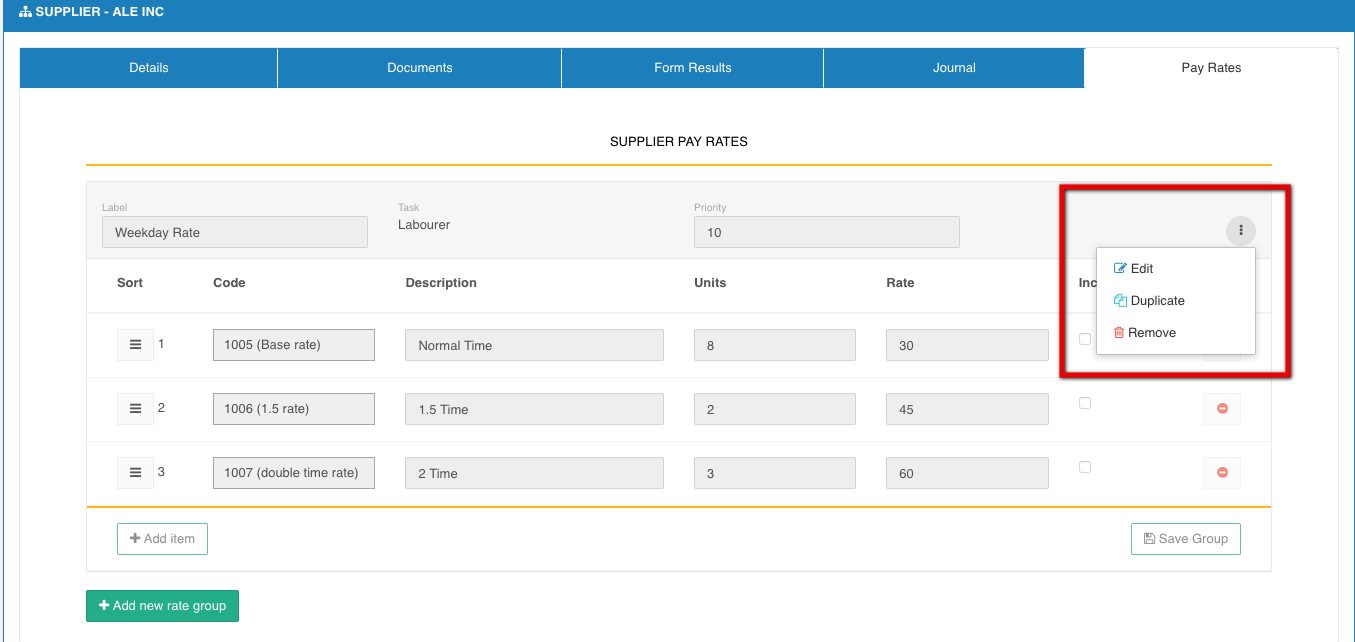
To remove, edit or duplicate these rate groups, click the three dots and select the applicable action.